
In this article, instructions are provided on how accounting data can be generated and exported for DATEV. Finblick has successfully completed the DATEV certification and is an official DATEV interface provider, enabling secure and reliable integration with DATEV. In addition to the existing CSV-based DATEV Export, Finblick also supports Direct DATEV Export, allowing accounting data to be transferred directly to DATEV without leaving Salesforce.
Important: DATEV Export is an add-on and must be ordered separately. It is not included in the standard Finblick feature set. The functionality described in this article is only available after the DATEV Export add-on has been activated.
To access the DATEV Export functionality, the following requirements must be met:
- A DATEV license must be assigned in the Finblick Setup.
- The Finblick DATEV User permission set must be assigned to the respective users.
Only users with this permission set can view the DATEV section in the Line Editor component and perform the DATEV Export.
For details on assigning licenses and permission sets, see the article User Access Management.
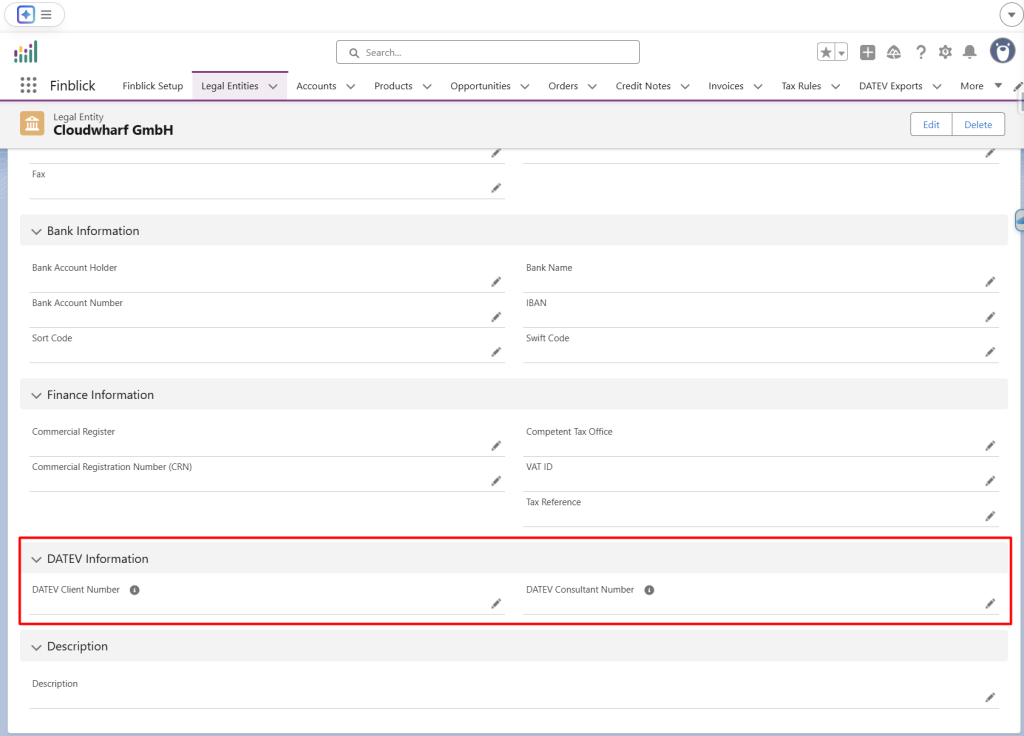
Before start of the DATEV Export, certain fields must be populated. If these fields are blank, the export cannot be generated. Here is the list of the required fields for DATEV Export:
- Legal Entity:
- finblick__DatevClientNumber__c
- finblick__DatevConsultantNumber__c
- Account:
- finblick__DatevCustomerNumber__c
- finblick__DatevSupplierNumber__c
The DATEV Customer Number field is required for exporting invoices, and the DATEV Supplier Number is required for exporting credit notes.
These fields aren’t automatically added to the Account object page layout, so it’s necessary to add them manually.
Moreover, there are additional fields on the Matching Rule object:
- finblick__BookingAccount__c
- finblick__BUKey__c
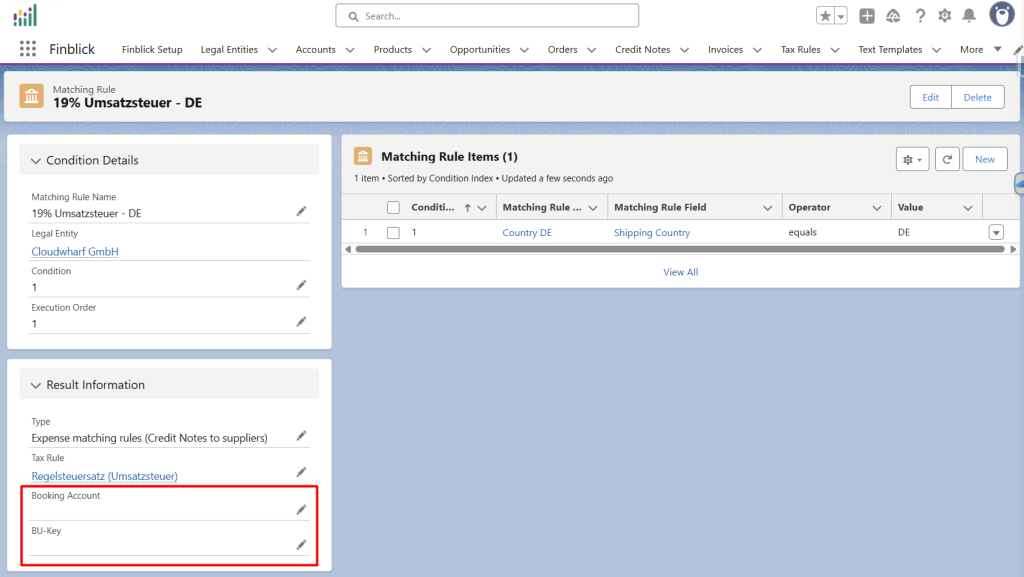
When an Invoice Line or Credit Note Line is added to a record and a corresponding Matching Rule applies, these values are automatically transferred from the Matching Rule to the Invoice/Credit Note Line.
Furthermore, there are two additional fields on the Invoice/Credit Note Line level, which are also included to DATEV Export:
- finblick__CostCenter1__c
- finblick__CostCenter2__c
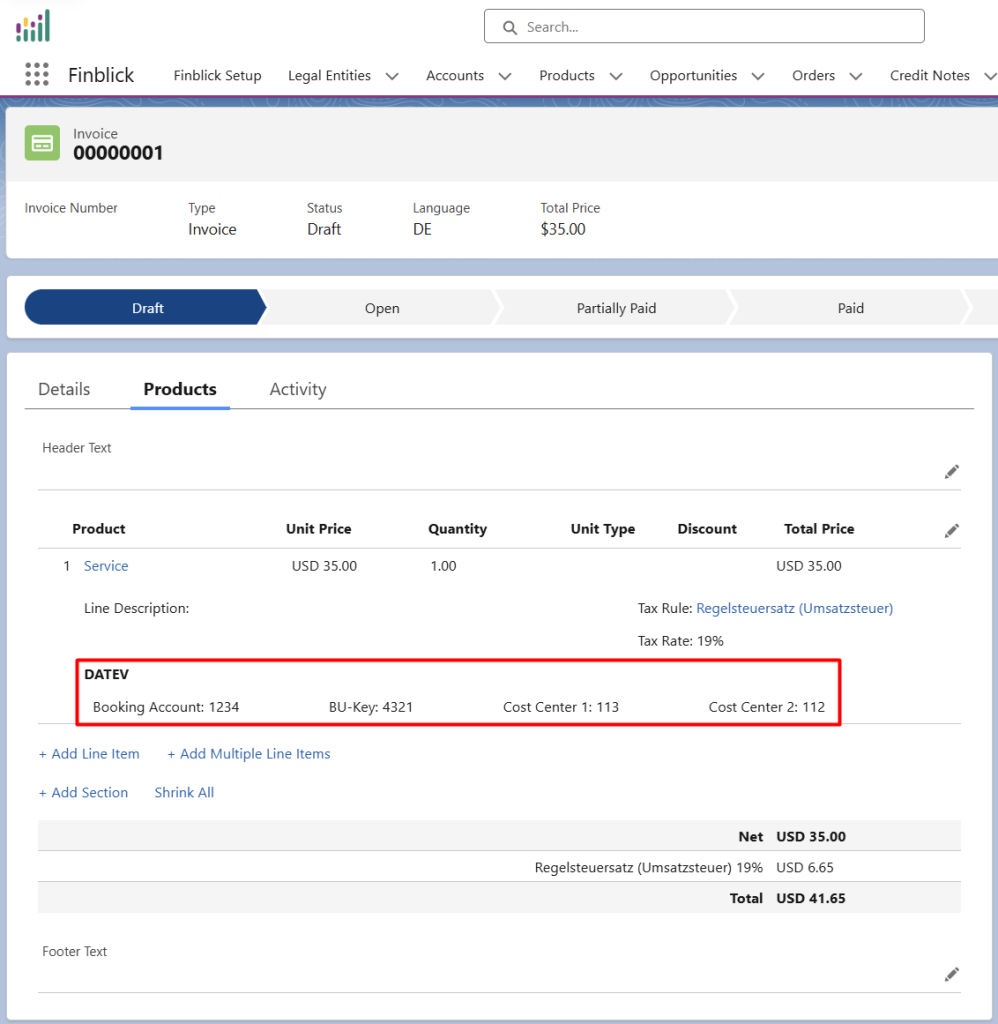
Only users with a DATEV license and permission set assigned can see this section in the Line Editor component. These fields are the only fields that are editable after the document generation.
Step-by-Step Guide to DATEV Export #
- Open the DATEV Export Tab:
- In the Finblick app, navigate to the DATEV Exports tab.
- Create a new DATEV Export record and select the date range:
- Choose the period for which it’s necessary to generate the export and click Save.
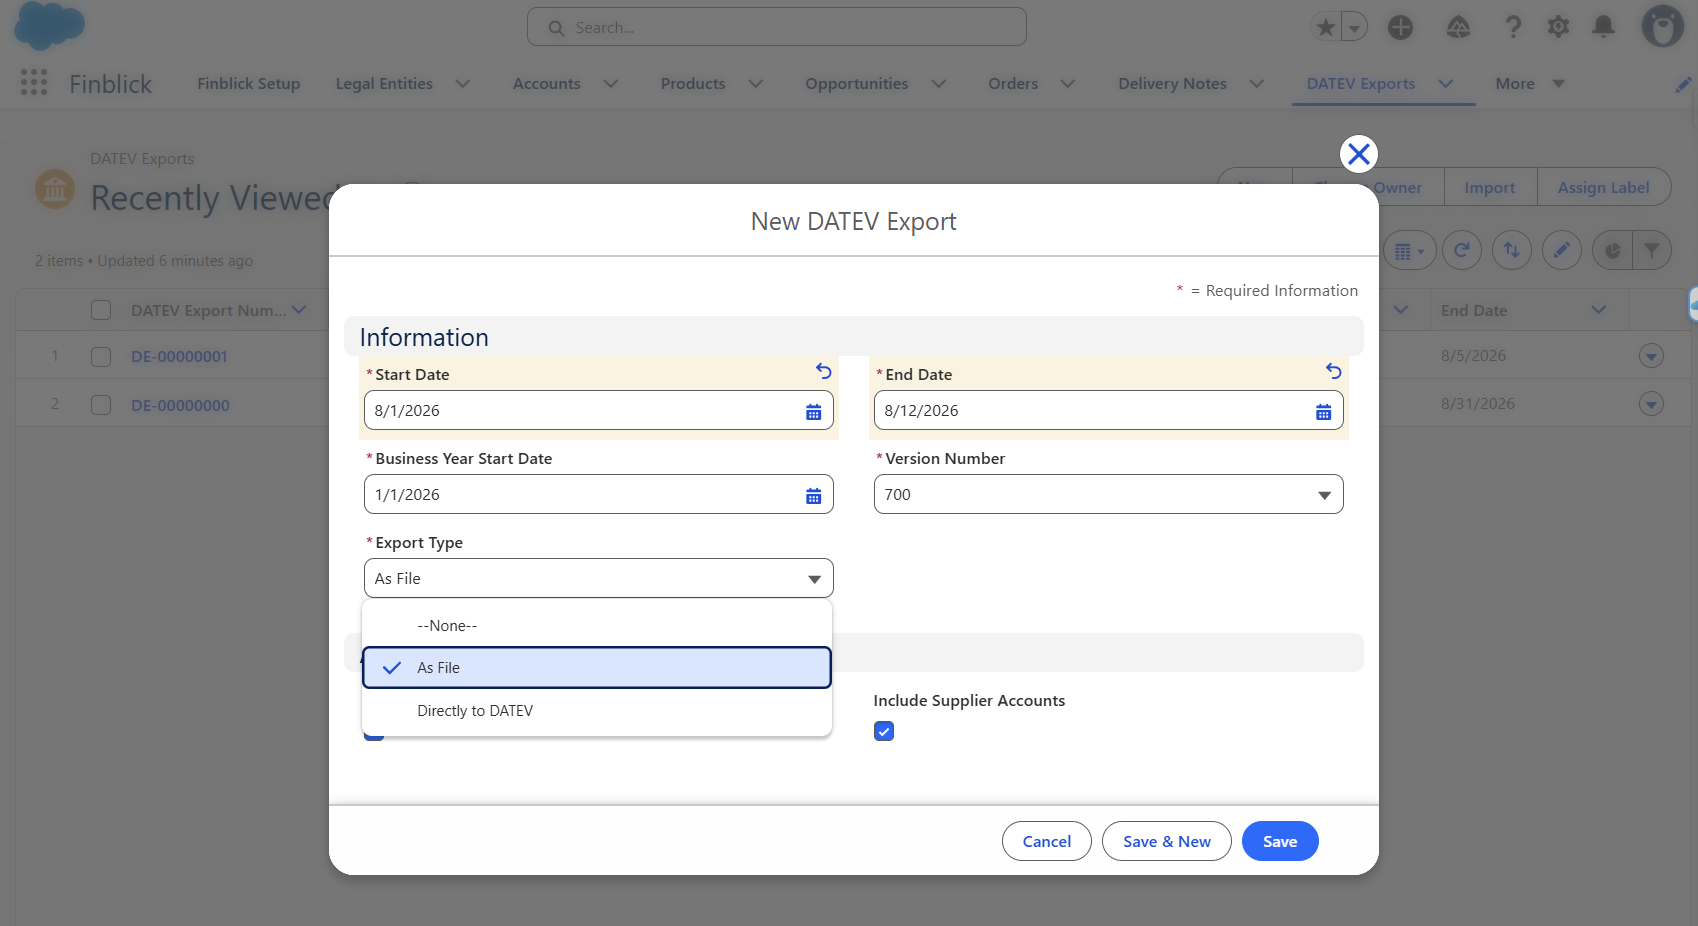
- Select the Export Type:
- As File – Generates a ZIP archive containing the DATEV-compatible CSV files together with the document PDFs. This is the standard export process described in the following steps.
- Directly to DATEV – Transfers the exported accounting data directly to DATEV after a successful authentication, eliminating the need to manually download and upload ZIP files.
- Run the Export process:
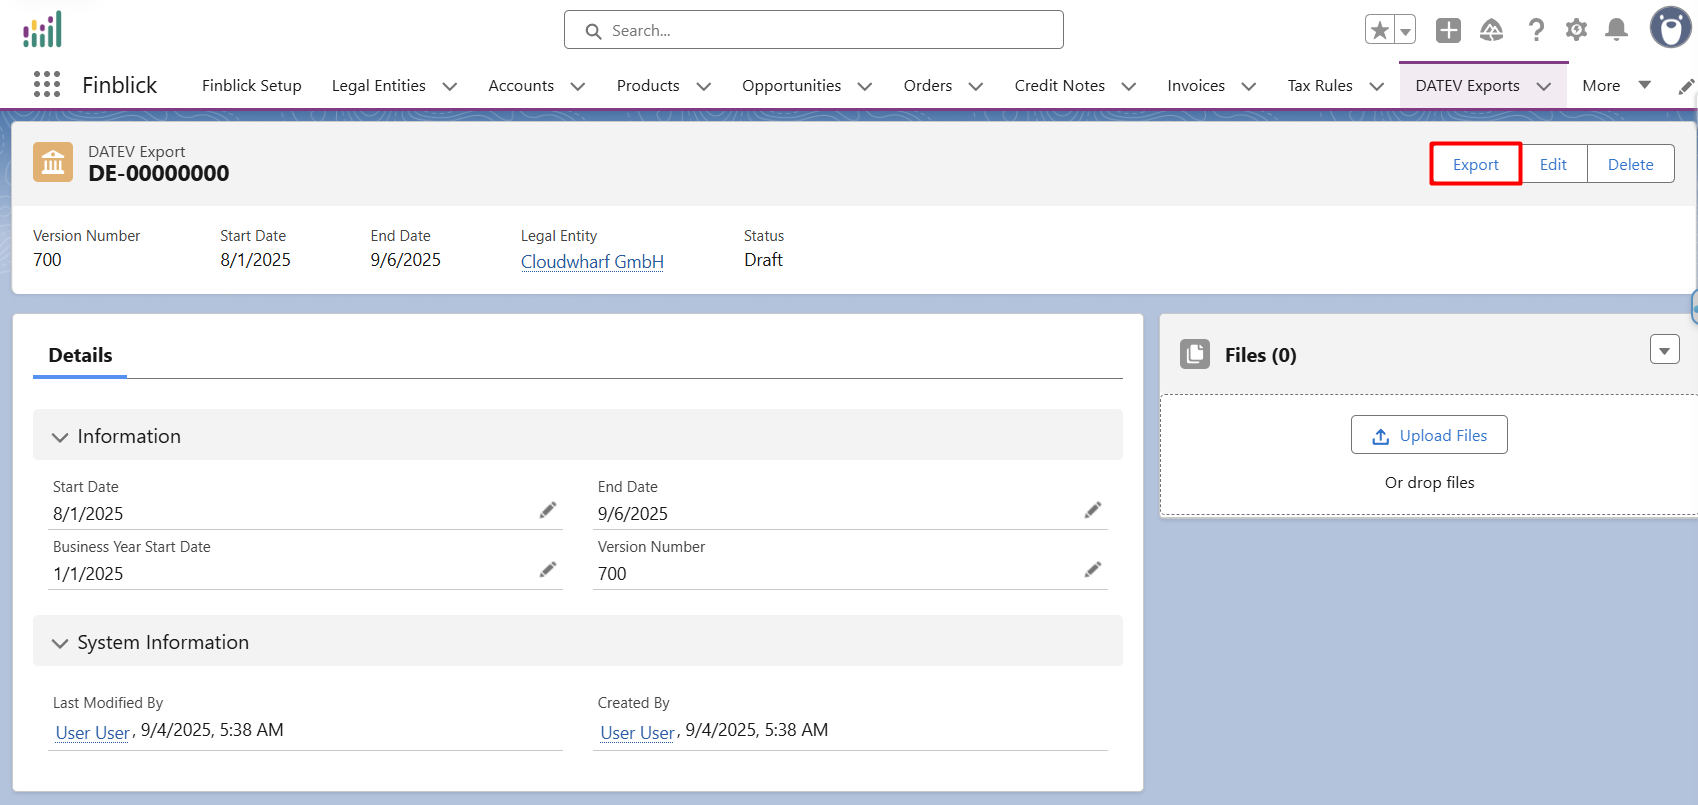
- Click on the Export button and confirm the operation.
- The export process depends on the selected Export Type:
- As File – Finblick generates a ZIP archive containing the DATEV-compatible CSV files together with the corresponding document PDFs.
- Directly to DATEV – Finblick securely connects to the configured DATEV account and transfers the accounting data directly to DATEV without generating a downloadable ZIP archive.
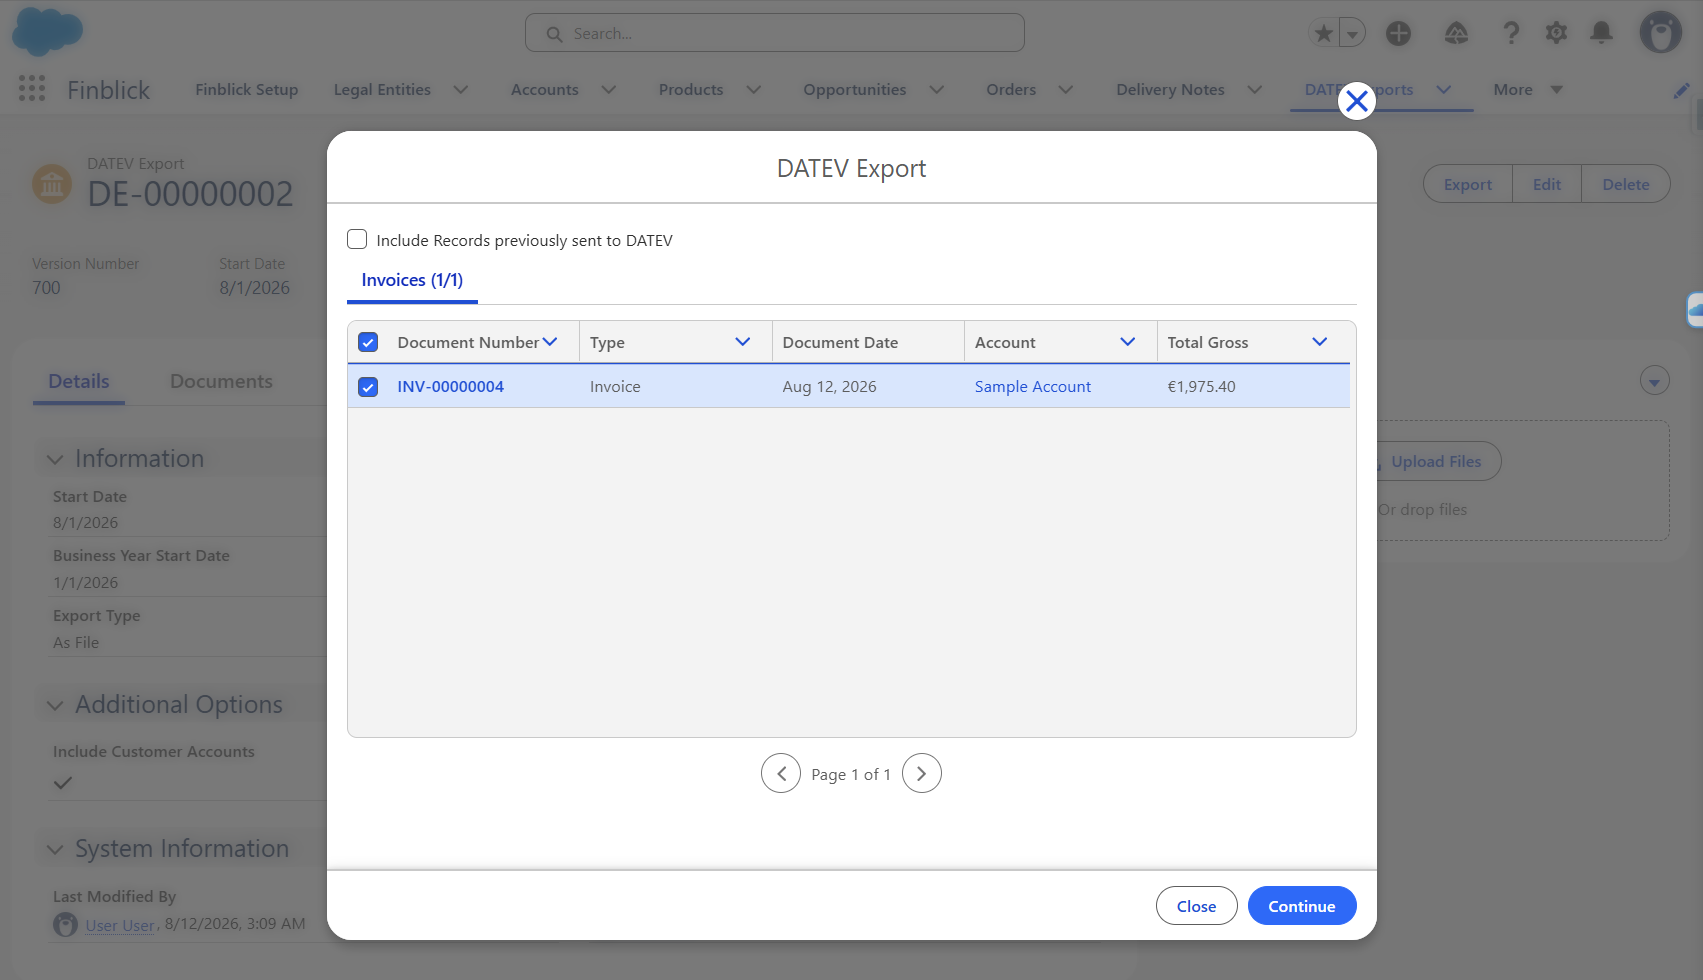
- Select the desired documents:
- Press Continue.
- For the export type “As File”, the Export will start after confiming the operation.
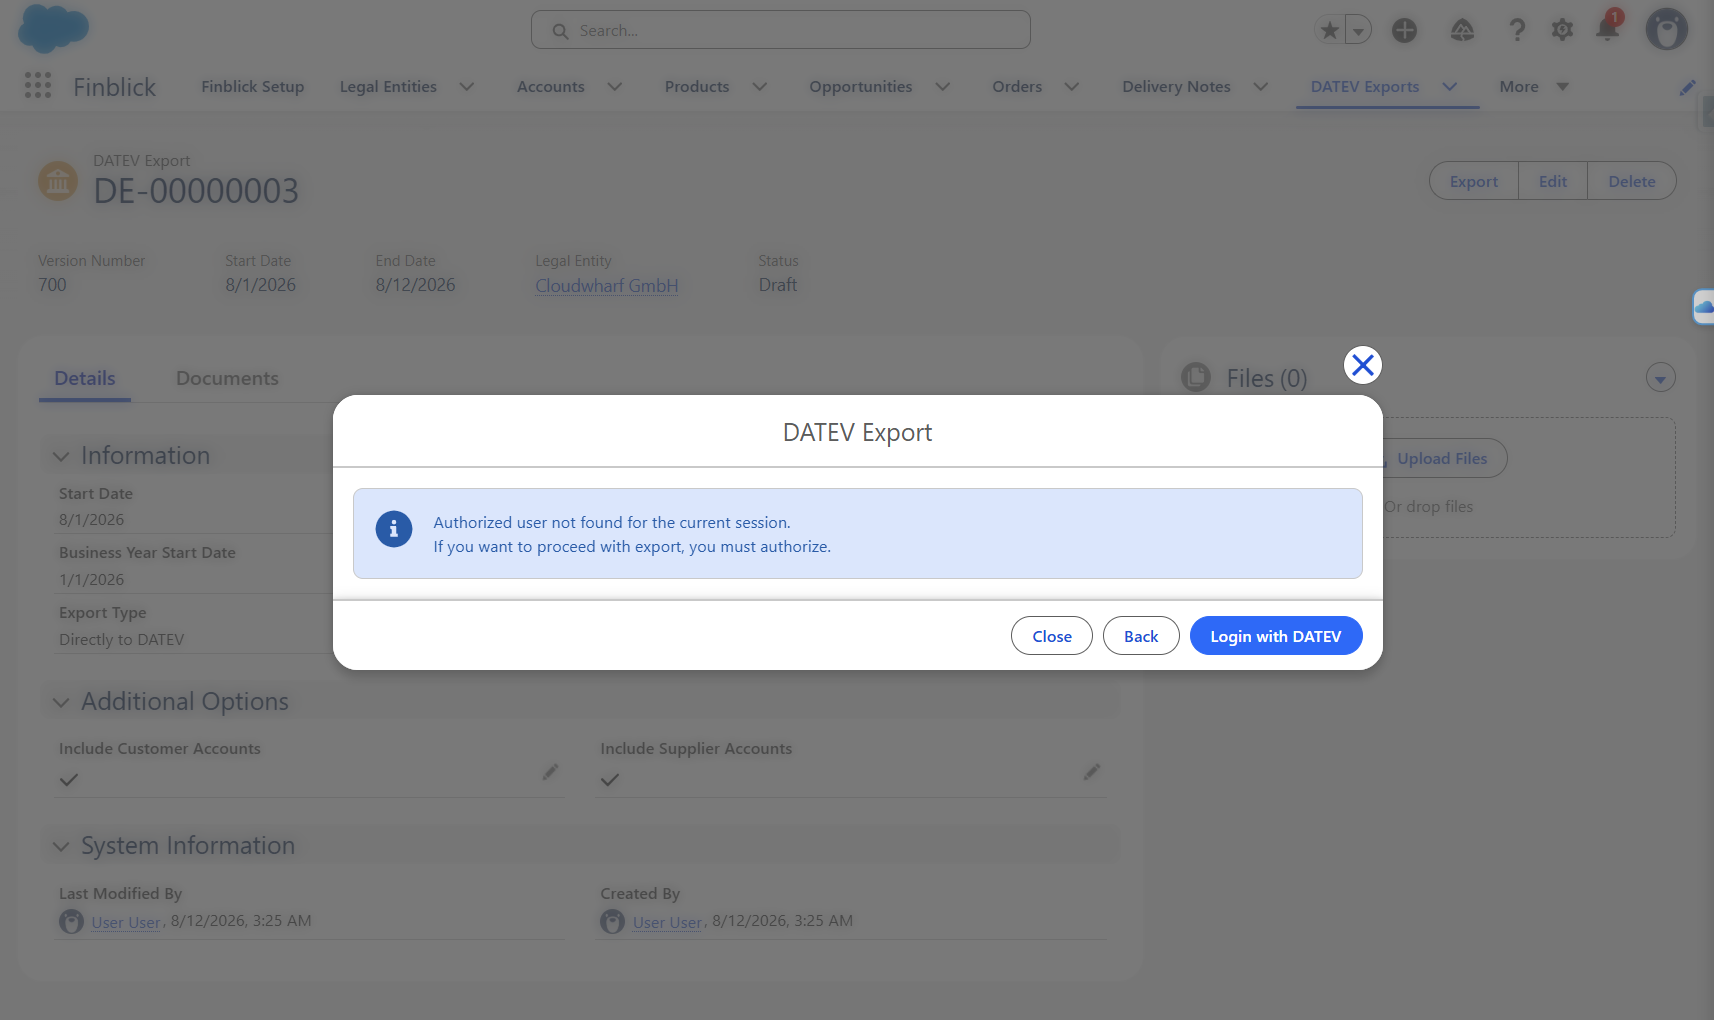
- For the export type “Directly to DATEV“, it’s necessary to authorize the DATEV Account:
- Press Login with DATEV button.
- The DATEV Login pop-up window will appear:
- Select the desired login method and click Next.
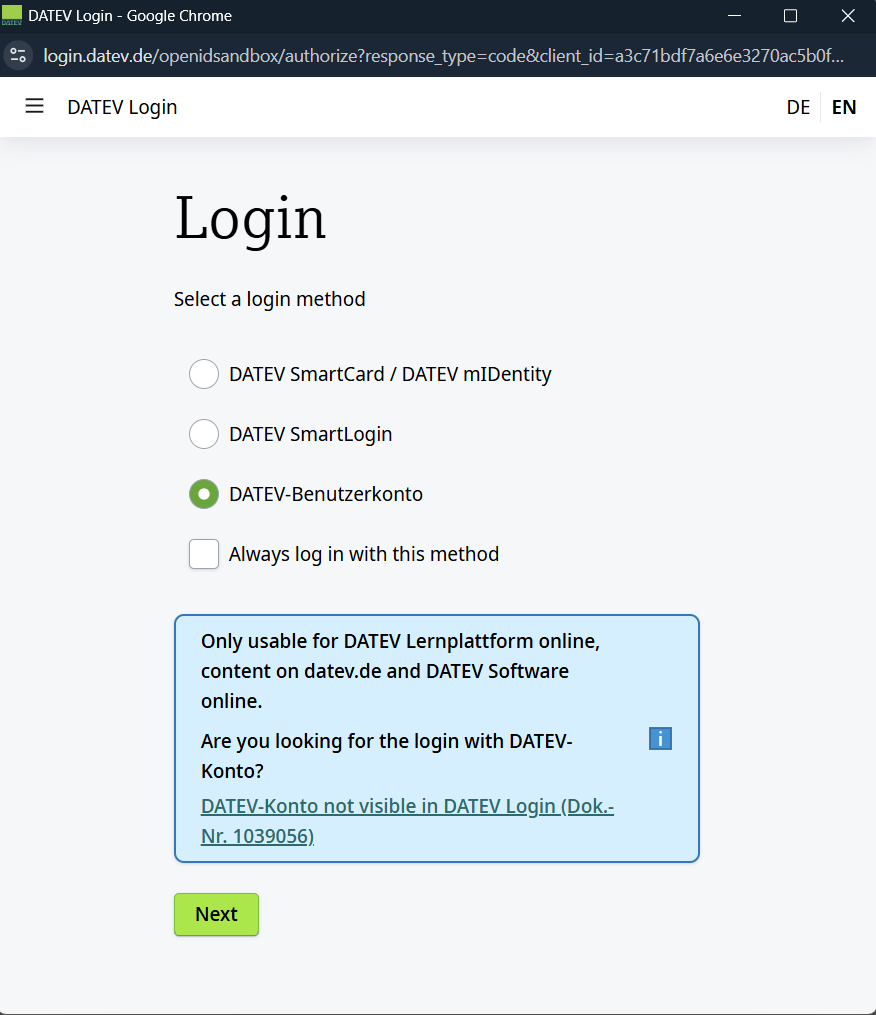
- Enter the login data or confirm the login after selection of the login method.
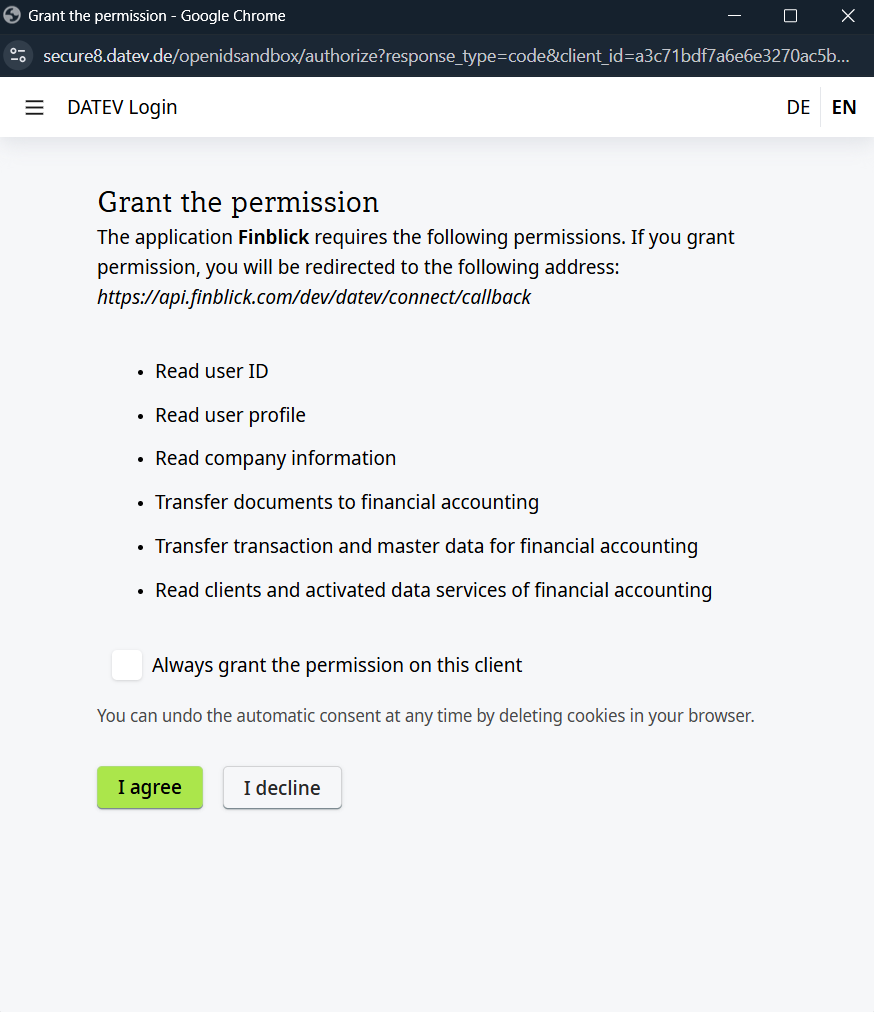
- Grant the necessary permissions by clicking “I agree”:
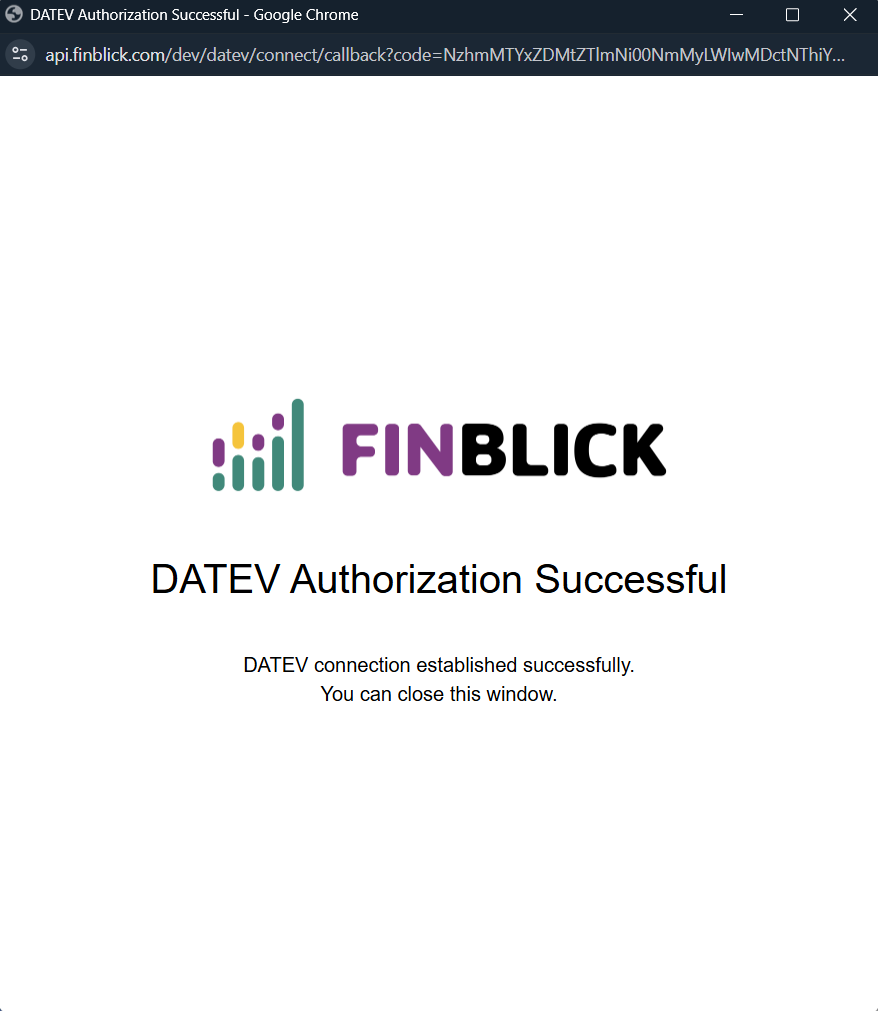
- The success message will appear:
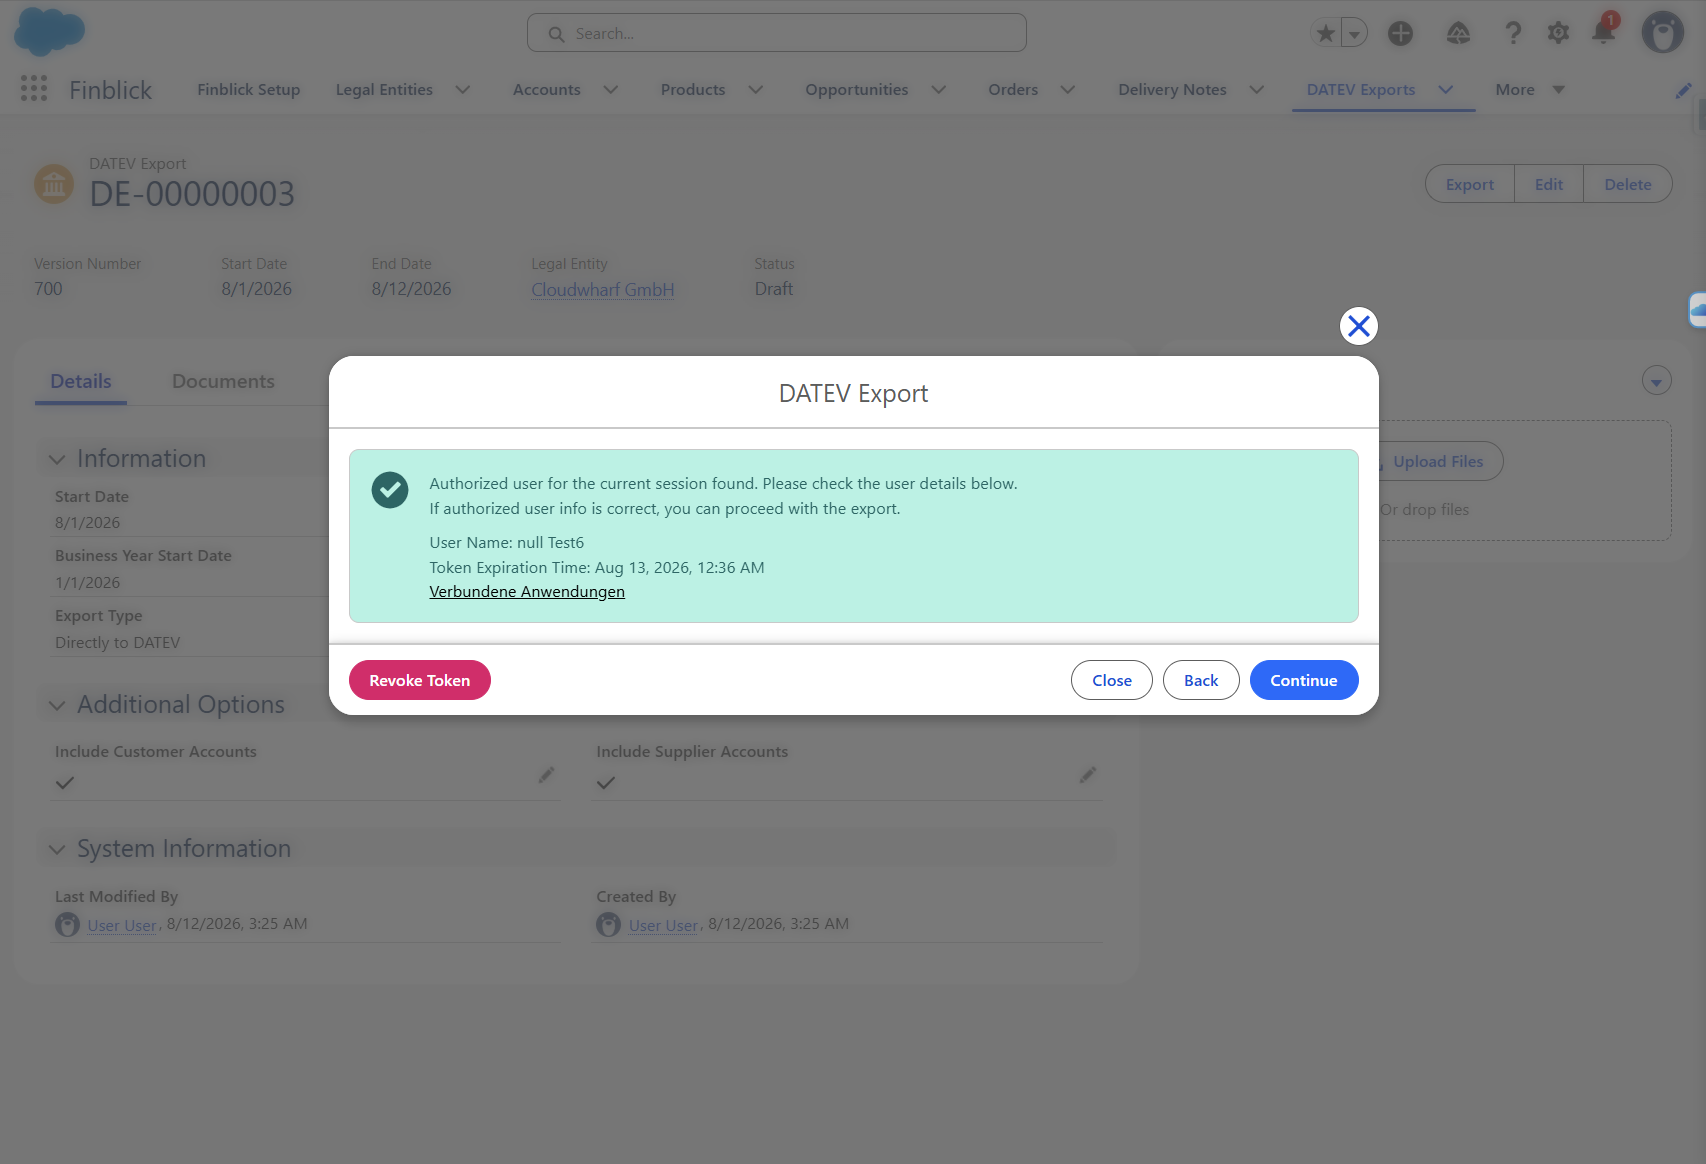
- The session will be authorized in Salesforce and the Export could be started by pressing “Continue“:
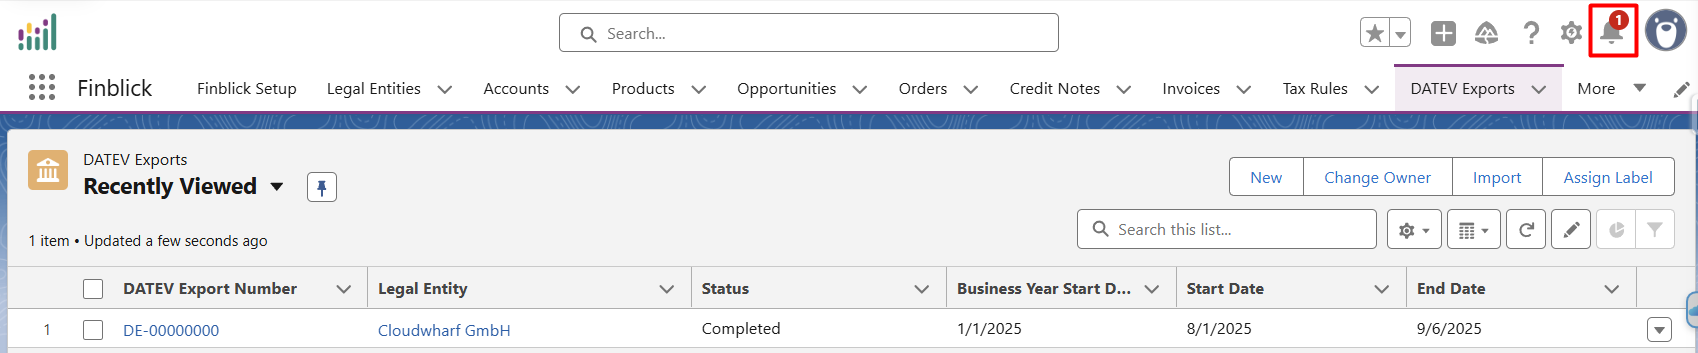
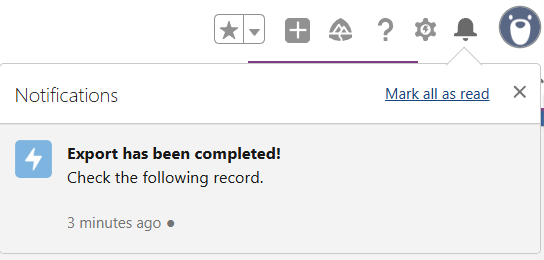
- The system will send the push-notification as soon as the DATEV Export is completed:
- If the export type “As File” was selected, download and review the DATEV Export ZIP file:
- If the export type “Directly to DATEV” was selected, the appropriate documents and their bookings will be transferred directly.
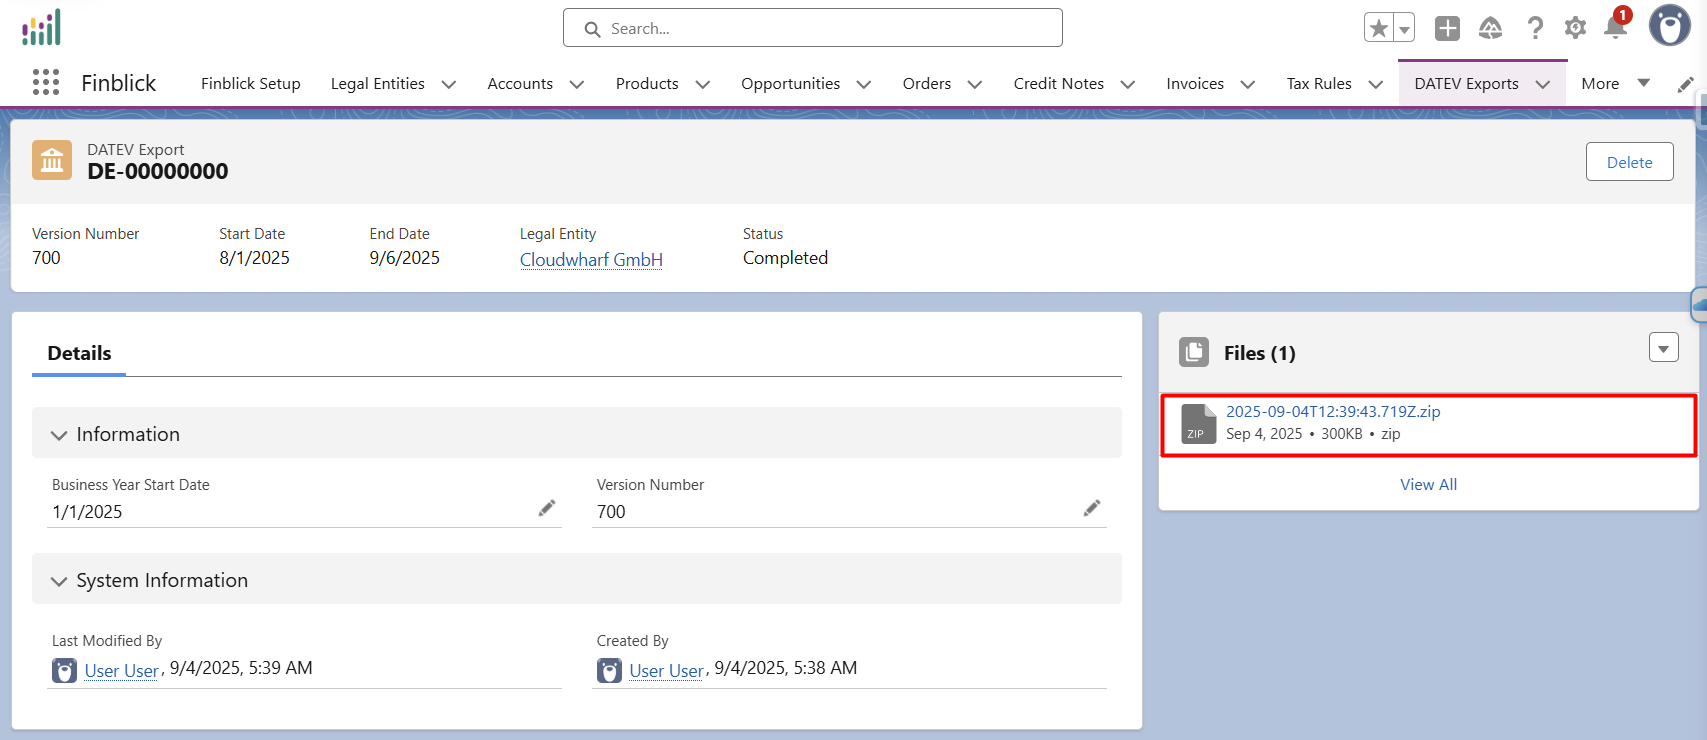
When exporting a large number of documents, the DATEV Export process automatically splits the output into multiple ZIP files.
- Maximum per ZIP file: 500 documents (invoices and credit notes combined)
- Maximum number of ZIP files per export: 10 (up to 5,000 documents in total)
If the export exceeds these limits, it’s necessary to create multiple DATEV Export records to cover all documents.


