
After the package installation, the next step is to set up the connection to the Finblick API. This involves configuring the necessary authentication details and ensuring that the integration is properly authorized to communicate with Finblick services.
Step-by-Step Guide to Connecting the Generator in Finblick #
Open the Finblick App and Access Settings #
- Open the Finblick App.
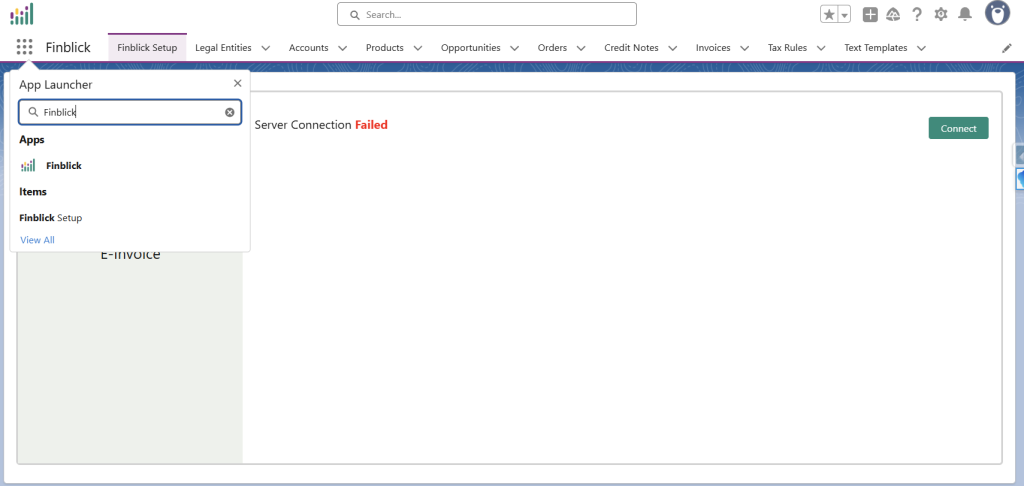
- Click on the App Launcher in the top left corner.
- Search for Finblick and open the Finblick app.
- Within the app, click on Finblick Setup and then on Connection.
Set Up the Generator Connection #
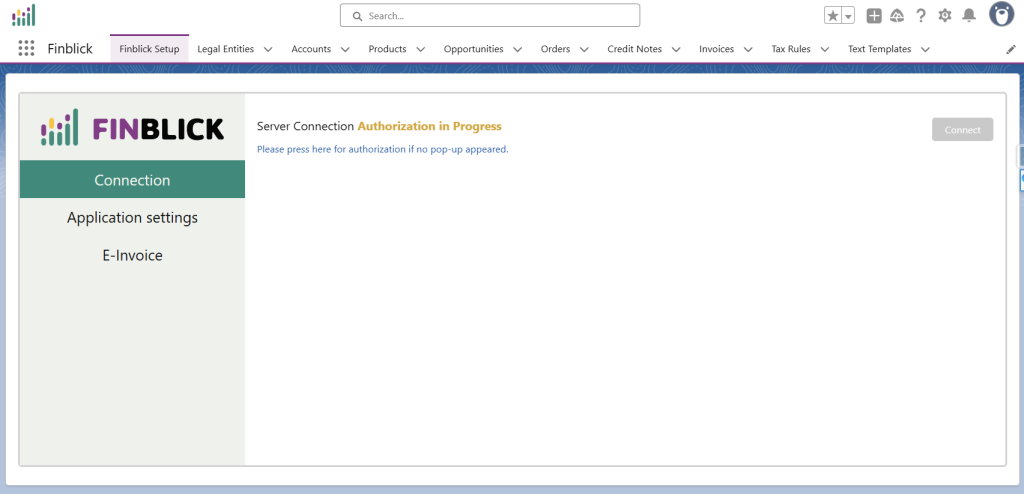
- Click the Connect button and a new tab will open.
- If the tab doesn’t open, click the link shown below the Server Connection.
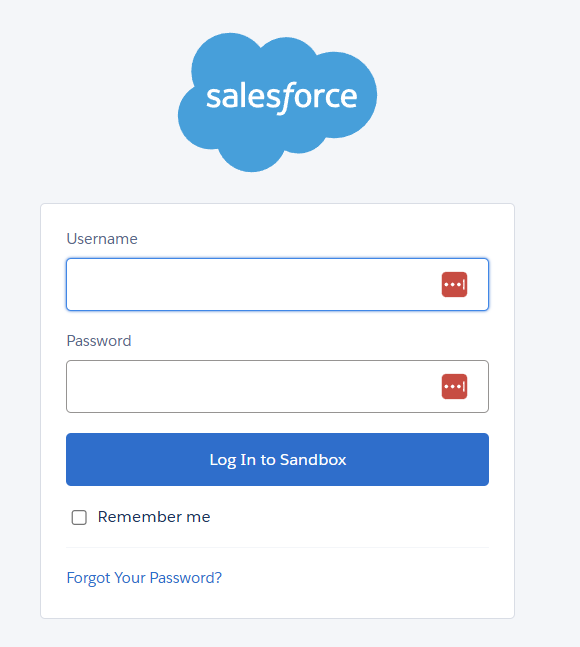
- Enter the username and password, then click Log in.
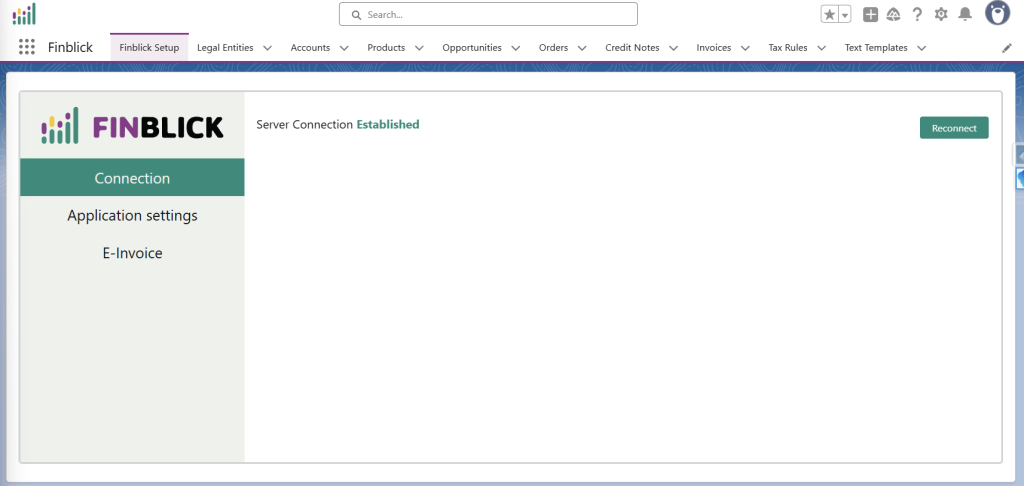
- A success screen will appear.

- Reload the page and check if the connection is successfully established.
Troubleshooting OAuth Authorization Issues #
OAuth authorization issues may occur when establishing the connection. The following configuration should be checked if the connection cannot be completed successfully.
Configure Finblick API Access #
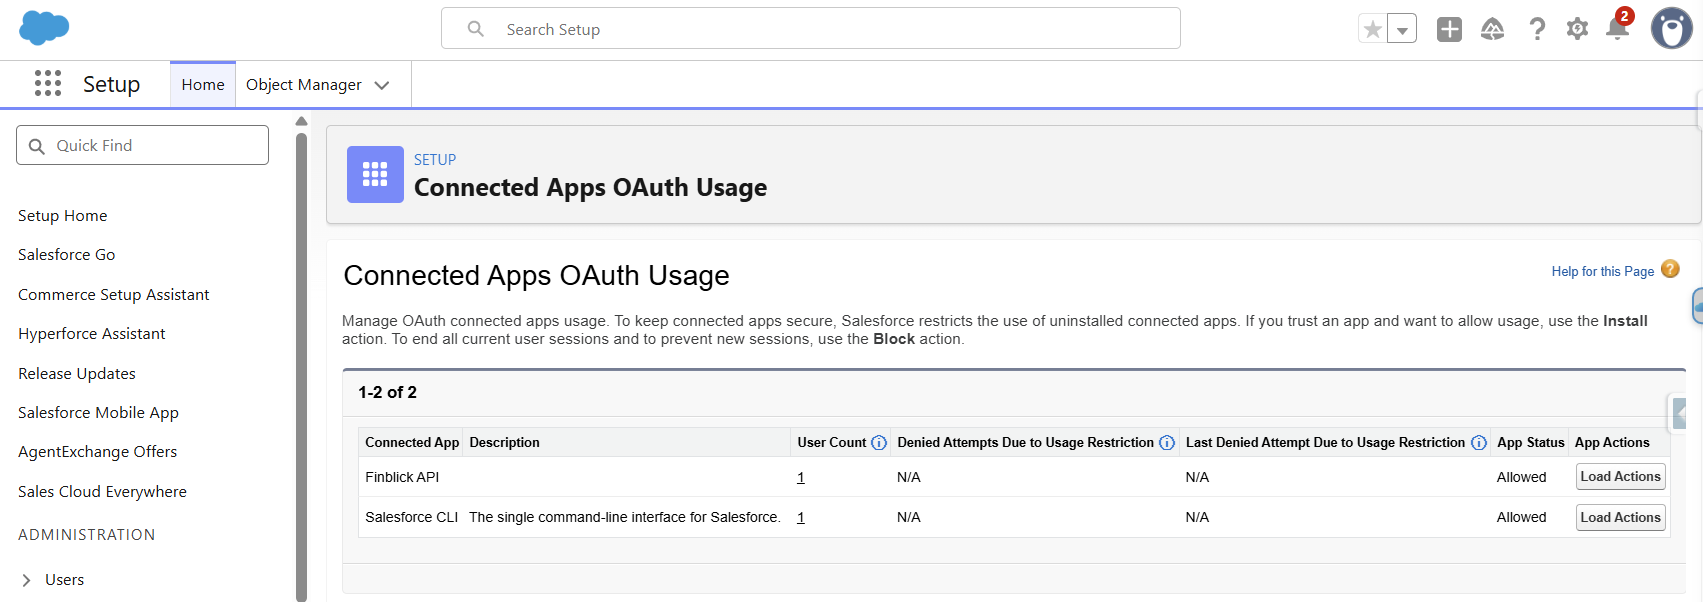
- Navigate to Setup → Apps → Connected Apps → Connected Apps OAuth Usage.
- Locate the Finblick API in the list.
- Click Load Actions and then click Install.
- Confirm the installation by clicking Install when prompted.
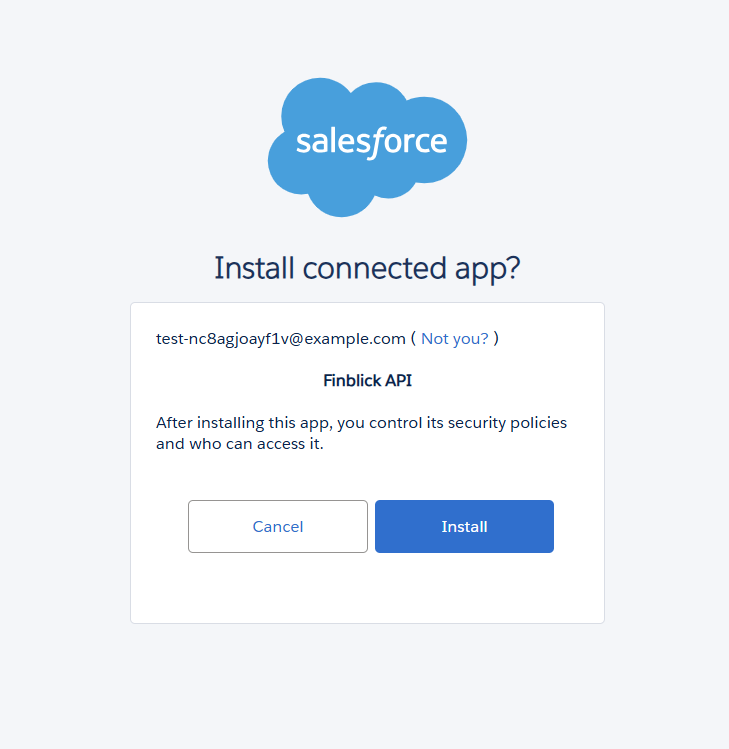
- After the installation is completed, the Finblick API Connected App page is opened. The Connected App can be left with the default settings, or access can be restricted by configuring the Connected App policies.
- If access to the Connected App is restricted, ensure that the profile or permission set of the user establishing the connection is included in the Connected App policies.
- To modify the Connected App policies later:
- Navigate to Setup → Apps → Connected Apps → Connected Apps OAuth Usage.
- Locate the Finblick API in the list, click Load Actions, and select Modify App Policies.
- The Connected App configuration page is opened, where the access settings can be modified.
Note: In older Salesforce instances, the available actions may be displayed directly without the Load Actions button.
Grant API Enabled Permission #
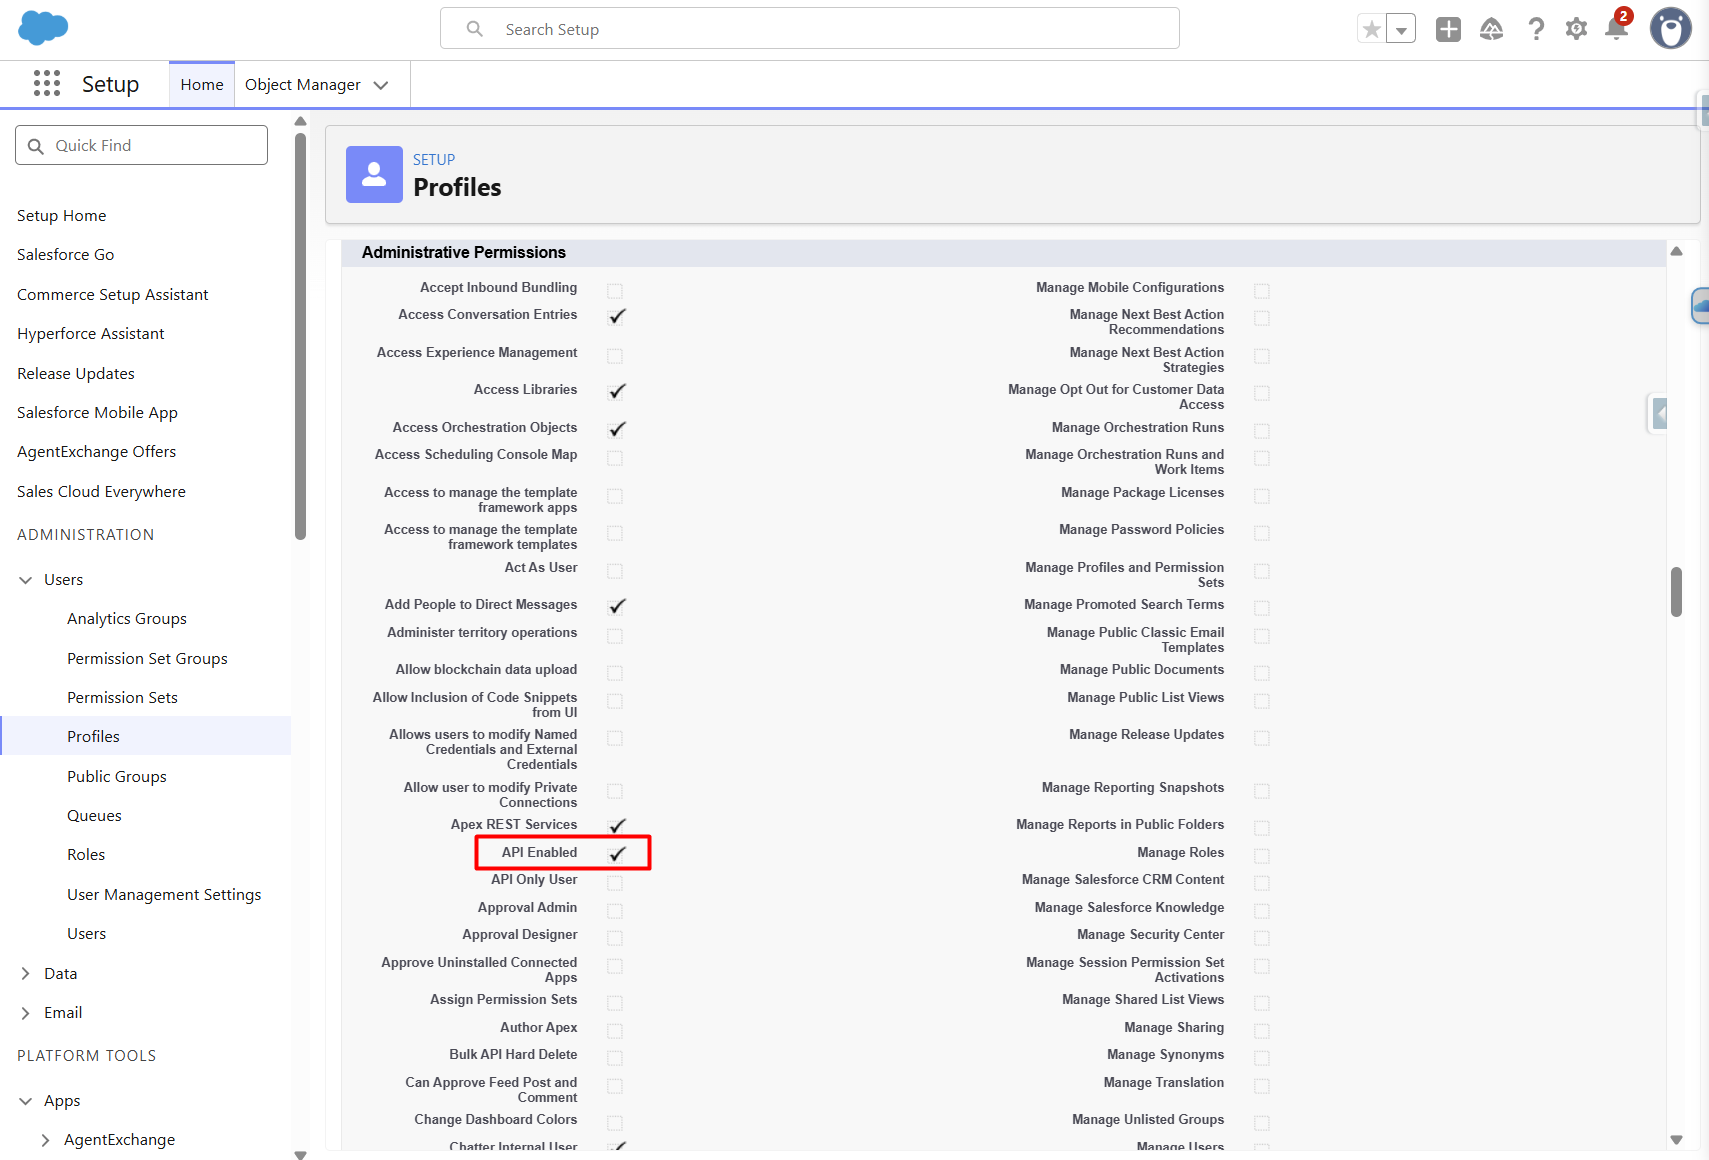
The user establishing the Finblick connection must have the API Enabled permission. The permission can be granted either through the user’s Profile or through a Permission Set.
- Assign API Enabled permission through a Profile
- Navigate to Setup → Users → Profiles and open the Profile assigned to the user.
- Click Edit.
- Locate the API Enabled permission under Administrative Settings and enable it.
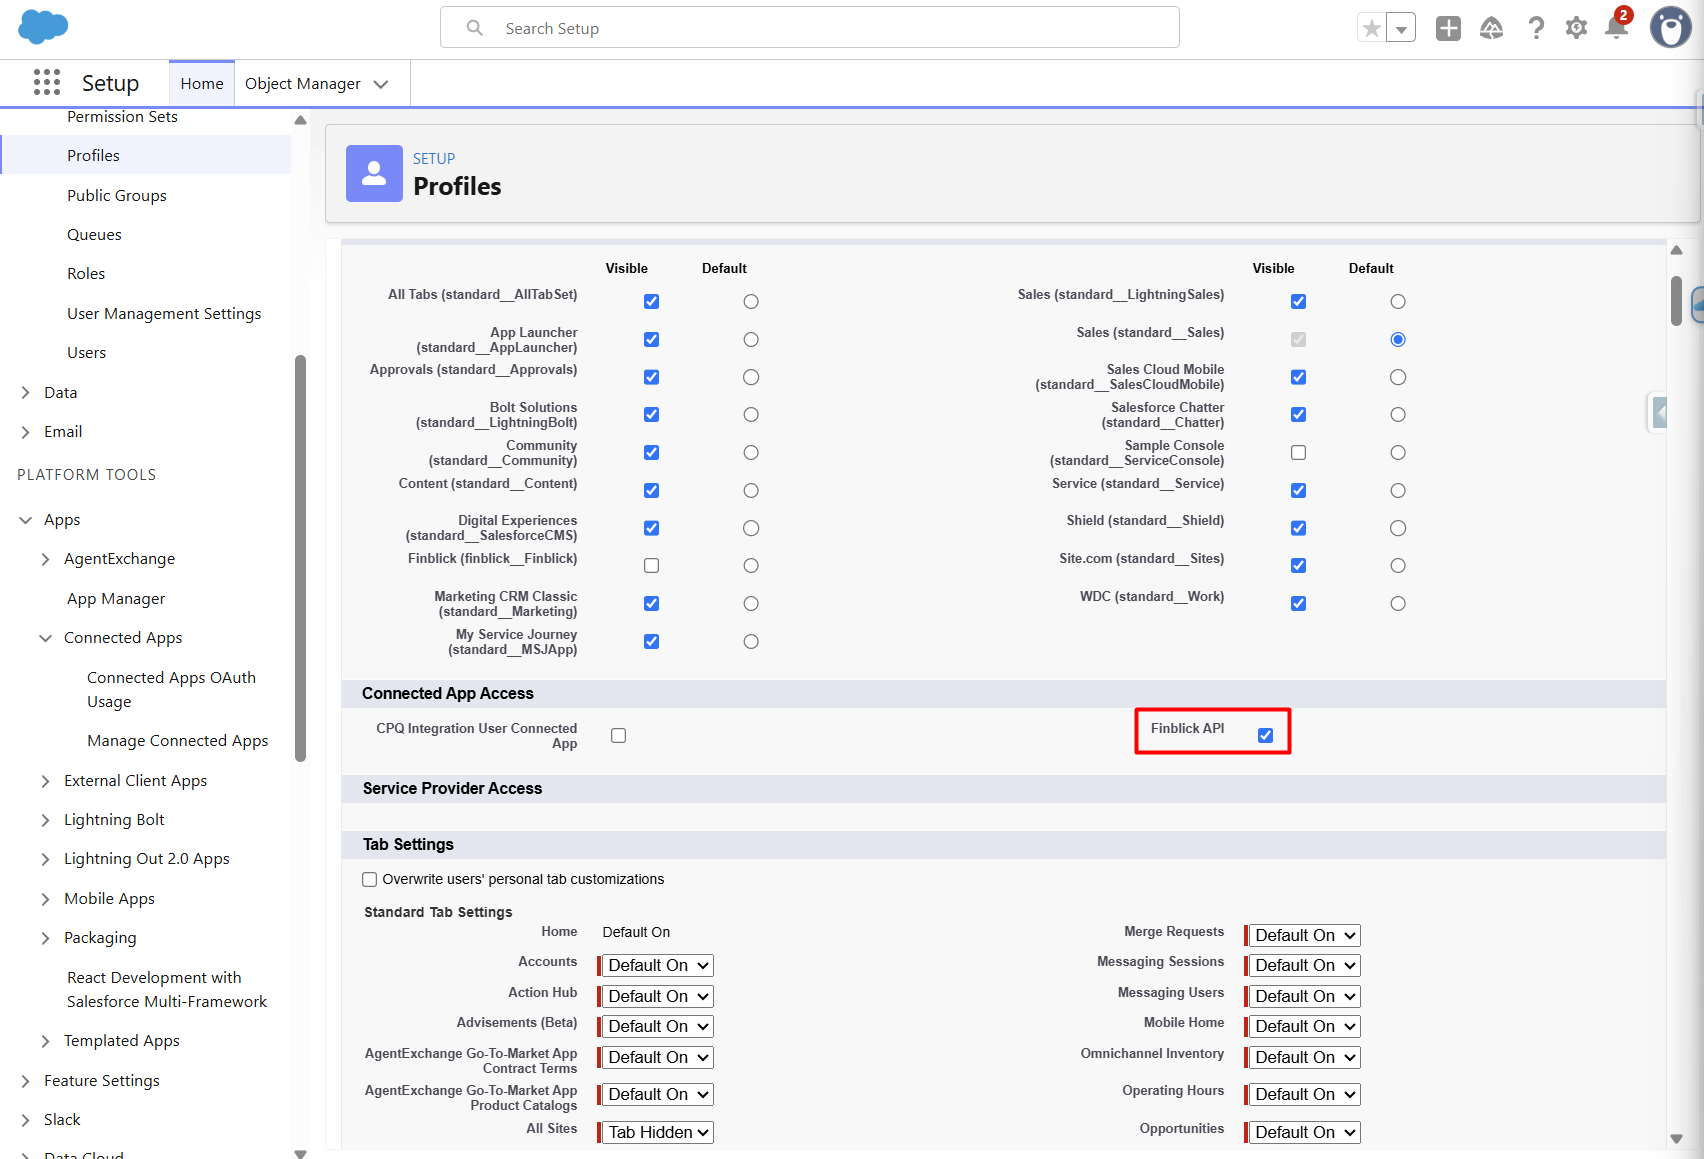
- In the profile settings, locate Connected App Access and ensure that Finblick API is selected.
- Save the changes.
- Assign API Enabled Through a Permission Set
- Navigate to Setup → Users → Permission Sets.
- Create a new Permission Set or open an existing Permission Set that should be used to provide the required permissions.
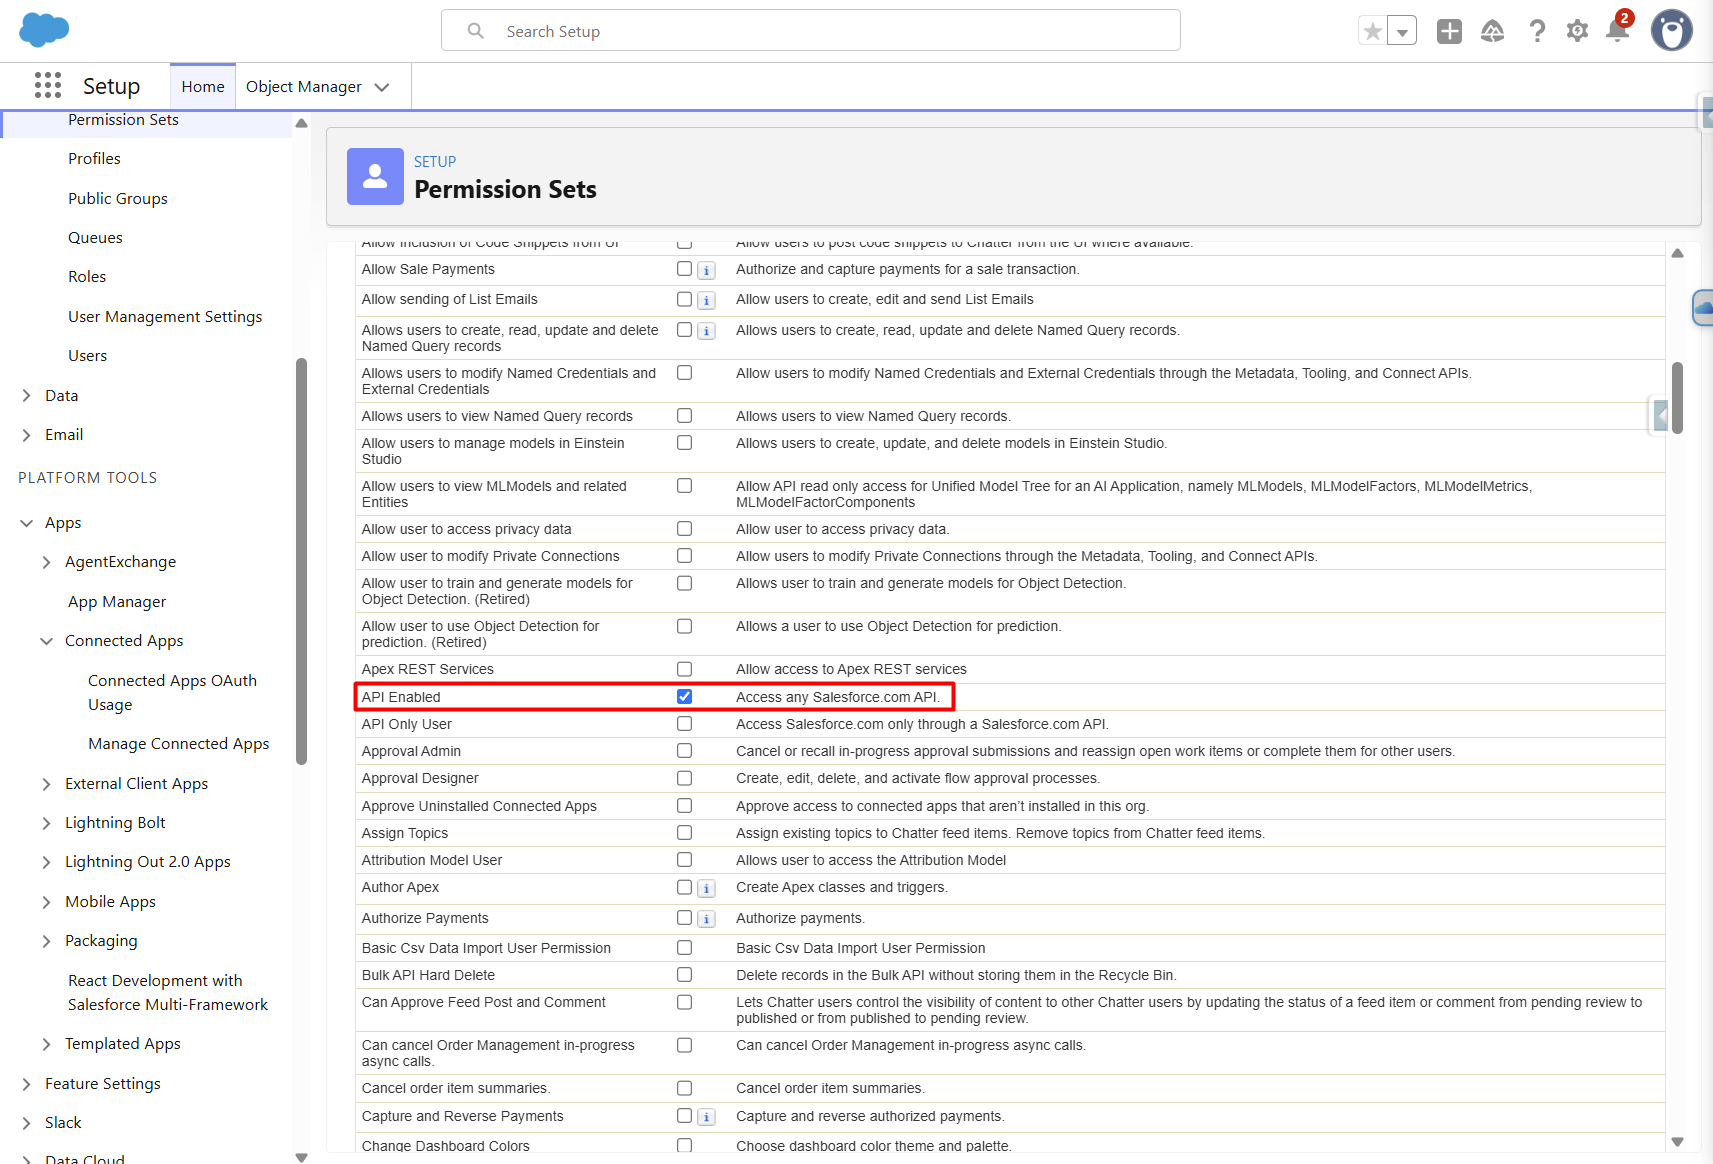
- Open System Permissions and click Edit.
- Locate API Enabled in the System section and enable the permission.
- Save the changes.
- Return to the Permission Set Overview.
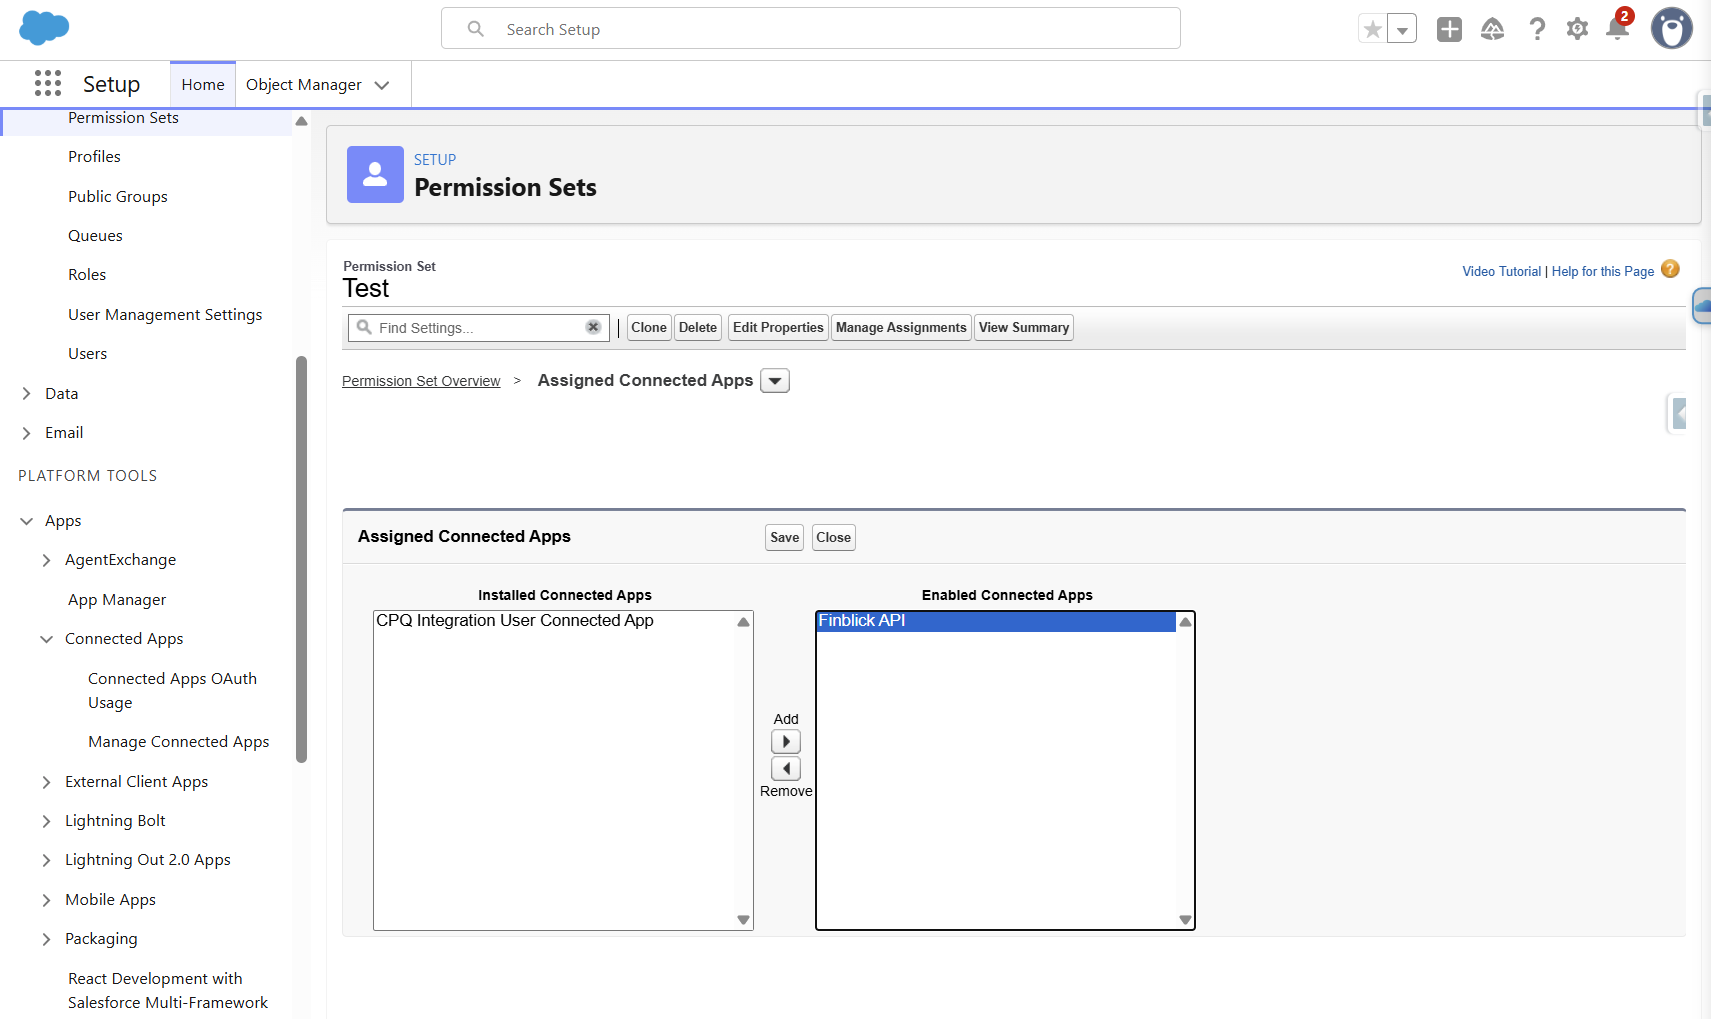
- Open Assigned Connected Apps and click Edit.
- Move Finblick API to the selected applications.
- Save the changes.
After the required permissions and Connected App access have been configured, the Finblick authorization process can be attempted again.


